| tags:raspberry pi openwrt categories:computing
Miniflux on OpenWRT
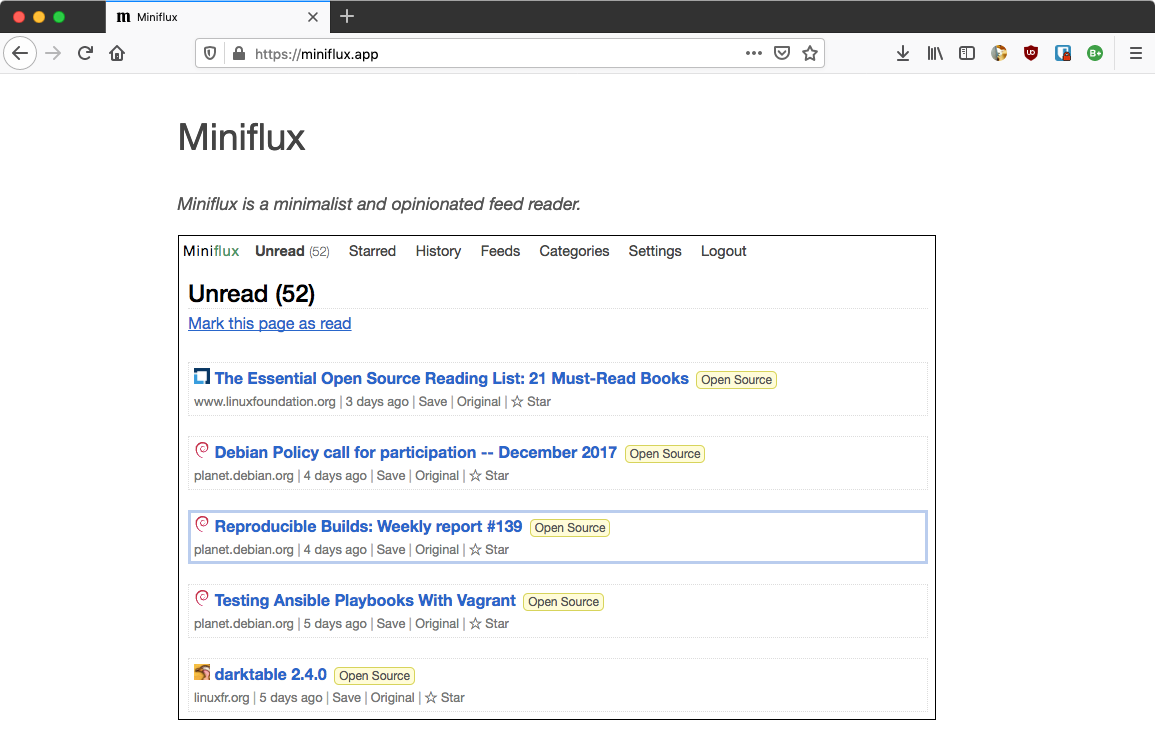
今まではTiny Tiny RSSをラズビアン+パイ3で使っていました。 今回環境を変えていることもあるので、 データベースをPostgresqlに変更して、 ミニマリスティックなMinufluxをインストールしてみました。
たまたま見つけた、 下記のサイトが非常に助けになりました。
https://www.itix.fr/blog/install-miniflux-raspberry-pi/
インストール方法が事細かに書いてあります、グッジョブです。 (ちょっとだけ変更点あり。)
OpenWRT v19.0.3 + minuflux v2.0.21 にて動作ちう。
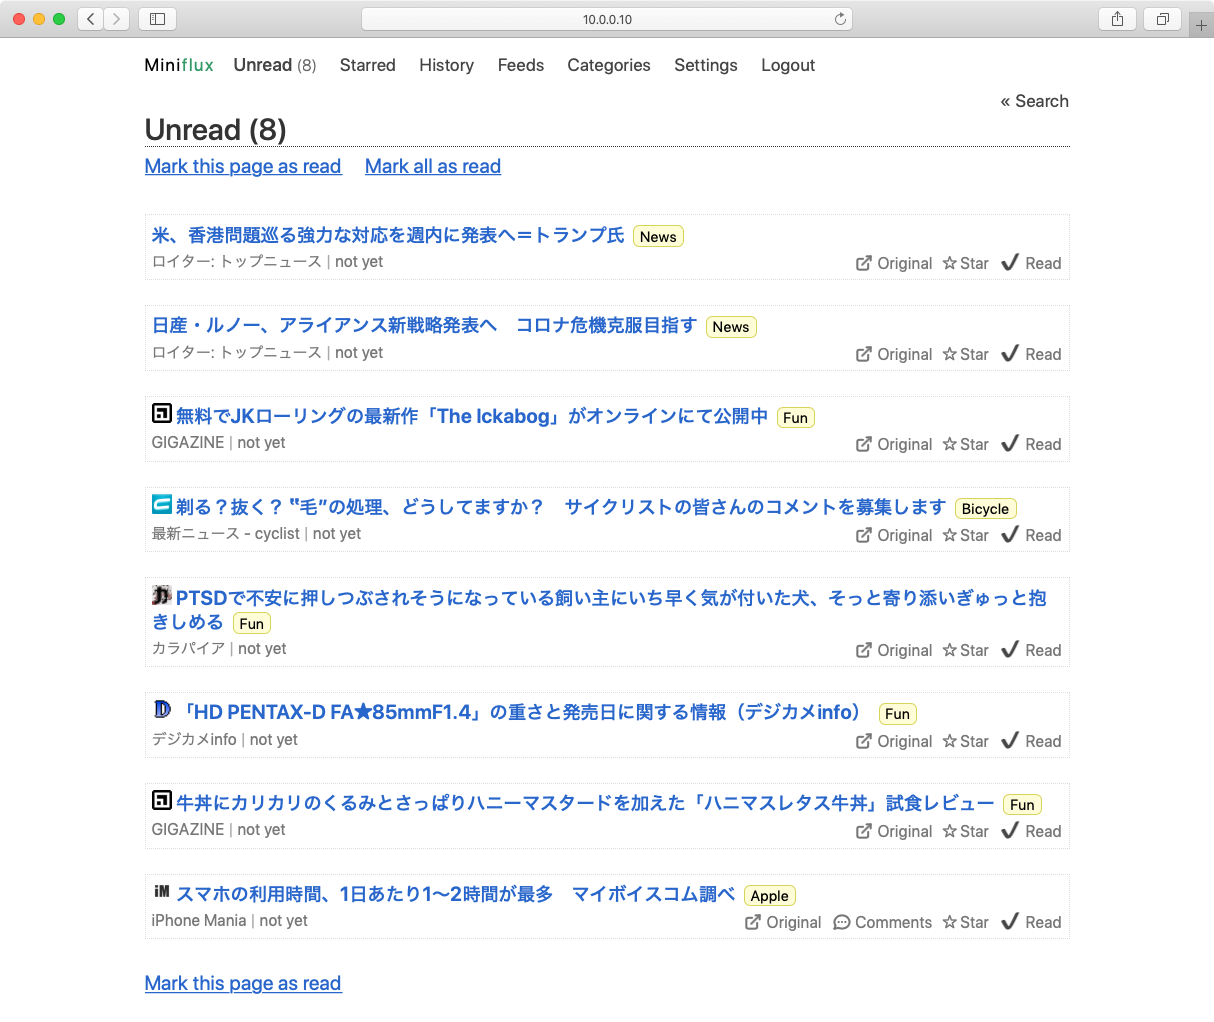
数日使ってみたところ、TTRssと比較したところ、こちらの方がえらく快適。 Fever経由、マック・Reederでの読み込みも爆速。 Androidアプリは物色中。
シンプルなウェブクライアントも最初はどうかなと思っていましたが、 ヘッダーを読み飛ばすには悪くないかも、と思い始めてます。 満足度高し。
事前作業
Minifluxユーザーを作成したり、あとで使う
sudo -u postgres
のため、以下のソフトウェアをインストールします。
root@openwrt:~% opkg update
root@openwrt:~% opkg install sudo shadow-su shadow-useradd
そして、minifluxユーザーを追加しときます。
root@openwrt:~% useradd -d /var/run/miniflux -s /bin/false -m -r miniflux
インストール作業
PostgresqlとMinifluxのインストール、各種設定をします。
postgresql
初期設定を含めて作業をします。 データーファイルの保存先を変えたりします。
root@openwrt:~% opkg install pgsql-server
初期設定とデーターベースの初期化をします。
root@openwrt:~% mkdir -p /srv/postgresql/data
root@openwrt:~% uci set postgresql.config.PGDATA=/srv/postgresql/data
root@openwrt:~% uci set postgresql.config.PGLOG=/srv/postgresql/data/postgresql.log
root@openwrt:~% uci commit
root@openwrt:~% chown postgres:postgres /srv/postgresql/data
root@openwrt:~% cd /srv/postgresql/data
root@tortas:/srv/postgresql/data$ sudo -u postgres /bin/ash -c 'LC_COLLATE="C" initdb -D /srv/postgresql/data --pwprompt'

Enter new superuser password:

root@tortas:/srv/postgresql/data$
サービスを有効化して開始します。
root@openwrt:~% service postgresql enable
root@openwrt:~% service postgresql start
rootユーザーを登録します。
root@openwrt:~% sudo -u postgres psql -c 'CREATE USER root SUPERUSER;'
Minulux db
MinifluxのDBを作成します、ユーザー、パスワード、DB名全てminifluxで行ってます。 セキュリティー的にはNGですな。
root@openwrt:~% sudo -u postgres psql -c "CREATE USER miniflux WITH PASSWORD 'miniflux';"
root@openwrt:~% sudo -u postgres psql -c "CREATE DATABASE miniflux OWNER miniflux;"
データーベースにつなげるかチェックします。 2行目の目的は分からん、、、
root@openwrt:~% psql -h 127.0.0.1 miniflux miniflux
root@openwrt:~% cd /tmp && sudo -u miniflux psql miniflux -c ''
必要とされているエクステンションを追加します。
root@openwrt:/tmp% sudo -u postgres psql miniflux -c 'CREATE EXTENSION hstore;'
データベースの準備完了。
Minifluxのインストール
参考先サイトを見習って自分で落としてきたソフトウェアーは/optに置いとくことにします。
root@openwrt:~% opkg install libustream-mbedtls ca-bundle ca-certificates

root@openwrt:~% mkdir -p /opt/miniflux/bin
root@openwrt:~% wget -O /opt/miniflux/bin/miniflux https://github.com/miniflux/miniflux/releases/download/2.0.21/miniflux-linux-armv8
root@openwrt:~% chmod 755 /opt/miniflux/bin/miniflux
設定ファイル/opt/miniflux/etc/miniflux.confを作成します。
root@openwrt:~% mkdir -p /opt/miniflux/etc
root@openwrt:~% cat > /opt/miniflux/etc/miniflux.conf <<EOF
> DATABASE_URL=postgres://miniflux:miniflux@localhost/miniflux?sslmode=disable
> LISTEN_ADDR=0.0.0.0:8008
> EOF
root@openwrt:~% chown miniflux:miniflux /opt/miniflux/etc/miniflux.conf
root@openwrt:~% chmod 600 /opt/miniflux/etc/miniflux.conf
データーベースをマイグレートして、管理者の登録をします。
root@openwrt:~% /opt/miniflux/bin/miniflux -c /opt/miniflux/etc/miniflux.conf -migrate
root@openwrt:~% /opt/miniflux/bin/miniflux -c /opt/miniflux/etc/miniflux.conf -create-admin
Enter Username: xxxxx
Enter Password: xxYYxx
root@openwrt:~%
サービスの登録をします。
root@openwrt:~% vi /etc/init.d/miniflux

#!/bin/sh /etc/rc.common
# Miniflux

# Start after PostgreSQL (S50)
START=80
STOP=20

start() {
  start-stop-daemon -c miniflux -u miniflux -x /opt/miniflux/bin/miniflux -b -S -- -c /opt/miniflux/etc/miniflux.conf
}

stop() {
  start-stop-daemon -c miniflux -u miniflux -x /opt/miniflux/bin/miniflux -b -K
}

root@openwrt:~% chmod 755 /etc/init.d/miniflux
Minifluxを登録して起動します。
root@openwrt:~% service miniflux enable
root@openwrt:~% service miniflux start
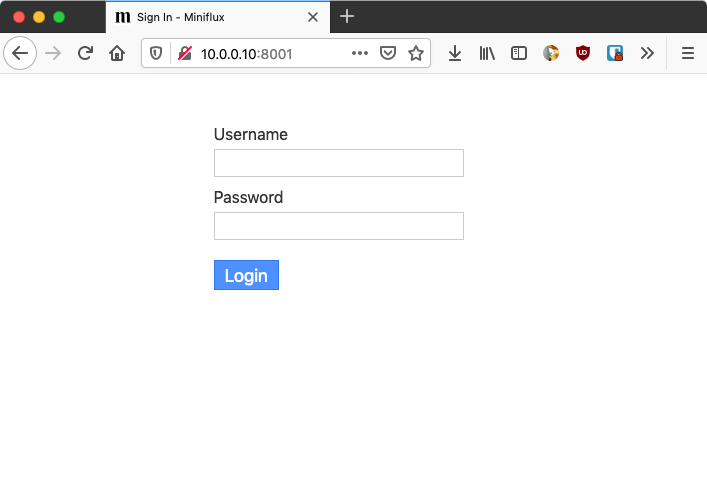
ブラウザーより
http://<<IP_ADDRESS>>:8008
にアクセスします。
フィードリストをインポートして終了!
リバースプロキシー設定
以下の設定
/etc/nginx/conf.d/miniflux
で保存しておきます。
OpenWRTの管理画面よりHOSTも追加しておきます。
# Miniflux server

server {

  listen 80;
  # listen 443 ssl;

  server_name rss.lan;

  location / {
    proxy_pass http://localhost:8001;
    proxy_set_header Host $http_host;
    proxy_set_header X-Forwarded-For $proxy_add_x_forwarded_for;
    proxy_set_header X-Forwarded-Proto $scheme;
    proxy_redirect off;
  }

  # client_max_body_size 4G;
  keepalive_timeout 10;

}
すんばらしぃ。
