| tags:raspberry pi categories:server
Wallabagをインストール
何でもセルフホスト・パイ・サーバー計画続行中。 今回はPocketの代替ソフトのwallabagをインストールしました。 Kindle版があるのがちょっと気になる。
インストール作業についてはドキュメントにて確りと書かれています。
https://doc.wallabag.org/en/admin/installation/installation.html
さて、まずは事前に必要なパッケージをインストールします。
- composer
- php
composer
1.8.0以上のバージョンが必要ですが、busterのパッケージは
1.8.4-1なので問題ありません、gitとmakeも必要なので一緒にインストールします。
pi@tacos:~ $ sudo apt install git make composer
php
phpモジュールが必要です。 サイトに書いて有る2つのモジュールphp-sessionとphp-hashが見つかりらず、 幾つかのモジュールはまとめられていました。
- php7.3-common: php7.3-ctyp php7.3-icon php-iconv php7.3-gettext php7.3-pdo php7.3-tokenizer
- php7.3-xml: php7.3-dom php7.3-simplexml
とりあえずあるものをインストールしてそのまま続行します。
pi@tacos:/var/www $ sudo apt install php7.3-common php7.3-xml php7.3-json php7.3-gd php7.3-mbstring php7.3-xml php7.3-tidy php7.3-curl php7.3-bcmath
Nginx
後でも構いませんが、事前にnginxの設定を行ってしまいます。
サイトのドキュメントよりコピーです。fastcgi_pass unixの編集だけで問題なく動きました。
server {
    server_name wallabag.goozen.lab;
    root /var/www/wallabag/web;

    location / {
        # try to serve file directly, fallback to app.php
        try_files $uri /app.php$is_args$args;
    }
    location ~ ^/app\.php(/|$) {
        # if, for some reason, you are still using PHP 5,
        # then replace /run/php/php7.0 by /var/run/php5

      fastcgi_pass unix:/run/php/php7.3-fpm.sock;  ## php7.3に変更
        fastcgi_split_path_info ^(.+\.php)(/.*)$;
        include fastcgi_params;

      # When you are using symlinks to link the document root to the
        # current version of your application, you should pass the real
        # application path instead of the path to the symlink to PHP
        # FPM.
        # Otherwise, PHP's OPcache may not properly detect changes to
        # your PHP files (see https://github.com/zendtech/ZendOptimizerPlus/issues/126
        # for more information).

        fastcgi_param SCRIPT_FILENAME $realpath_root$fastcgi_script_name;
        fastcgi_param DOCUMENT_ROOT $realpath_root;

      # Prevents URIs that include the front controller. This will 404:
        # http://domain.tld/app.php/some-path
        # Remove the internal directive to allow URIs like this
        internal;
    }

    # return 404 for all other php files not matching the front controller
    # this prevents access to other php files you don't want to be accessible.
    location ~ \.php$ {
        return 404;
    }

    error_log /var/log/nginx/wallabag_error.log;
    access_log /var/log/nginx/wallabag_access.log;
}
そして、サブドメインのためのホストファイルを設定します。
pi@tacos:~ $ sudo vi  /etc/hosts

10.0.0.10   wallabag.goozen.lab
MariaDB
事前にデーターベースを用意します。 データーベース名・ユーザー名・パスワードは変更してください。
pi@tacos:~ $ sudo mysql -u root
MariaDB [(none)]> CREATE DATABASE wallabag;
MariaDB [(none)]> CREATE USER 'wallabag-user'@'localhost' IDENTIFIED BY 'wallabag-pa$$word';
MariaDB [(none)]> GRANT ALL PRIVILEGES ON wallabag.* TO 'wallabag-user'@'localhost';
MariaDB [(none)]> exit;
インストール
Wallagbagのインストールををします。 作業の流れは以下の様になります。
pi@tacos:~ $ cd /var/www/
pi@tacos:~ $ sudo git clone https://github.com/wallabag/wallabag.git
pi@tacos:~ $ sudo chown -R www-data:www-data /var/www/wallabag
pi@tacos:~ $ sudo -u www-data /bin/bash
pi@tacos:~ $ cd /var/www/wallabag/
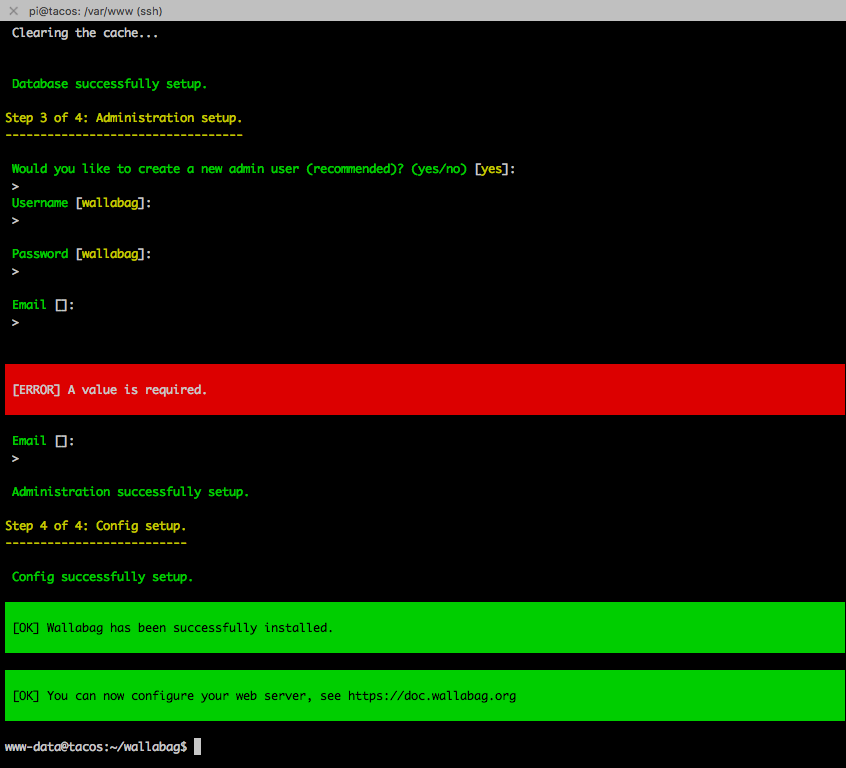
pi@tacos:~ $ make install
データーベース等、様々な設定を行います。(データーベース設定以外は、ほとんどデフォルト。)
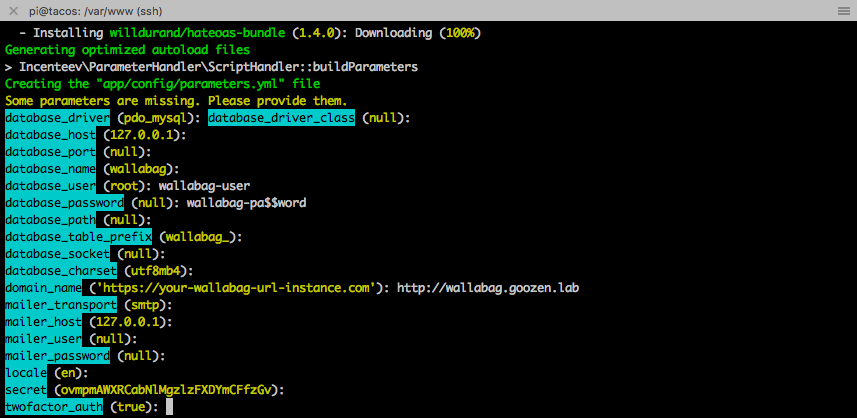
間違ってしまったり、変更をするときはparameters.yml を編集します。
pi@tacos:~ $ sudo vi /var/www/wallabag/app/config/parameters.yml
インストール終了後 http://IP_or_DOMAIN_NAME にてアクセスします。
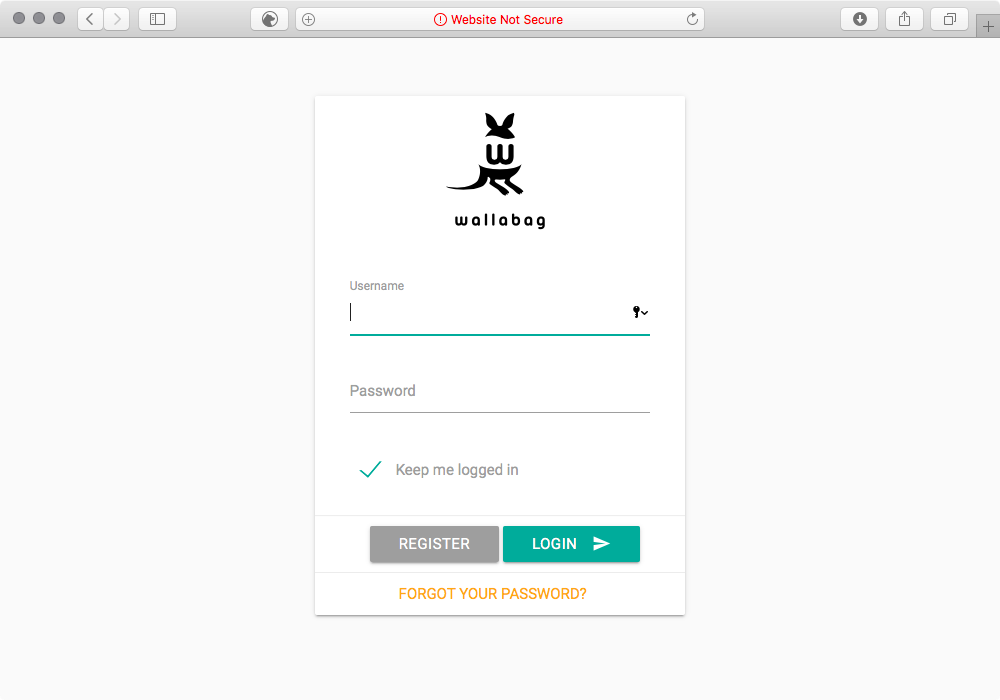
設定を行った時に入力した、アドミンアカウントでログインし、新しいユーザーを追加します。
クライアント・アプリも豊富ですので、様々な端末で情報共有ができます。
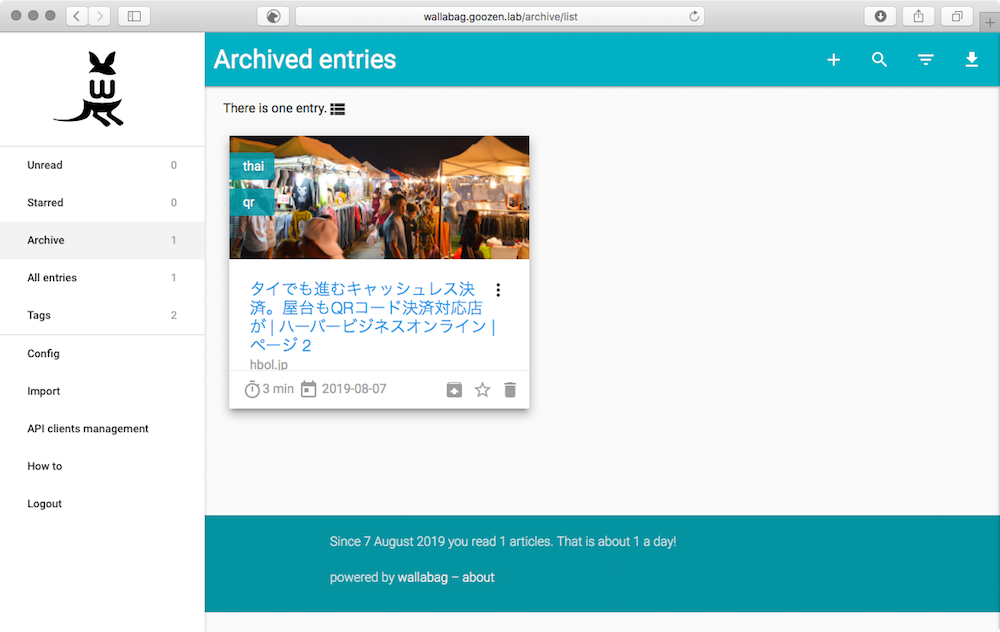
こんな感じの画面です。ポケットと似てますね。
