| tags:raspberry pi categories:server
moOdeをrPi0wにインストール
オーディオ・ラジオサーバーのmoOde audio playerをラズベリーパイ・ゼロにインストールしました。 moOde Audioホームページからダウンロードするイメージ・ファイルは、 エラーが出たり、やり直そうと思っても、最初からになってしまったりと、なかなか落とせなかったので、 公式に提供されているインストール・スクリプト使って作業を行いました。
ネット回線が貧弱な環境にいるので5時間くらいかかりましたが、問題なくすっきりとインストールできました。
手元にはすでに、Raspbianのイメージファイルがあるので、それをマイクロSDカードに書き込み、 SSHでログインできる様に少し変更を加え、カードをpi0に入れて起動します。
インストール方法は各所にて解説されていますので、省略します。
そして使っている端末から(私はマックブック)でログインします。
ssh pii@raspberrypi.local
ここで、アップデートなどの作業は必要ありません。
以下の様にシェルスクリプトを落としてきて、実行します。
- sudo wget -q http://moodeaudio.org/downloads/mos/mosbuild.sh -O /home/pi/mosbuild.sh
- sudo chmod +x /home/pi/mosbuild.sh
- sudo ./mosbuild.sh
最初にWifi+環境上の基本的な設定を行います。
****************************************************************
**
**  Moode OS Builder v2.7
**
**  Welcome to the automated process for creating the wonderful
**  custom Linux OS that runs moOde audio player.
**
**  1. You will need a Raspberry Pi running Raspbian with SSH
**  enabled and at least 2.5 GB free space on the boot SDCard.
**
**  2. The build can be written directly to the boot SDCard or
**  to a second USB-SDCard plugged into the Raspberry Pi.
**
**  WARNING: Raspbian Stretch Lite 2018-11-13 must be used if
**  building directly on the boot SDCard. It must be a fresh,
**  unmodified installation of Stretch Lite otherwise the build
**  results cannot be guaranteed.
**
**  Be sure to backup the SDCard used to boot your Pi!
**
****************************************************************

** Write OS build directly to the boot SDCard (y/n)? y

////////////////////////////////////////////////////////////////
//
// STEP 1 - Writing OS directly to boot SDCard
//
////////////////////////////////////////////////////////////////

** Do you have a backup of your boot SDCard (y/n)? y
** Enter current date (YYYY-MM-DD) 2019-03-07
** Make corrections (y/n)? n
** Options configuration:

   There are only two build options that can be configured. The
   1st is Proxy Server. Set it to 'n' unless you are certain that
   your network requires proxied access to the Internet. The 2nd
   is WiFi connection. For maximum speed and reliability set this
   to 'n' and use an Ethernet connection for the Build.

** Option 1-2: use a proxy server for Internet access (y/n)? n
** Option 2-2: use a WiFi connection instead of Ethernet (y/n)? y
** You are already connected via WiFi with these settings:
** SSID: SirruF
** Password : R9153055
** Use these settings (y/n)?y
** Configuration complete:

The Builder has completed the configuration and is now ready
to proceed with building Moode OS.

** Proceed with build (y/n)? y
** Test Internet connection
** Download helper files
** Add options to properties file
** Load properties into env
** Modify partitions
** Remove auto-resize task
** Enable familiar network interface names
mkdir: cannot create directory ‘part2/home/pi/mosbuild’: File exists
** Install main worker script
** Enable wifi unblock
** Enable script for autorun after reboot
** Change host name to moode
** Add alias commands for monitoring the build
** Flush cached disk writes
****************************************************************
**
** Base OS created on boot SDCard
**
** The Pi must be powered off then back on.
** The build will automatically continue at STEP 2 after power on.
** It can take around 1 hour to complete.
**
** The cmds mosbrief, moslog and moslast can be used to monitor
** the build via SSH. Connect to server moode, user pi, and
** password moodeaudio for SSH login.
**
****************************************************************

** Power off the Pi (y/n)? y
Connection to raspberrypi.local closed by remote host.
Connection to raspberrypi.local closed.
ケーブルを抜き、再起動します。 あさの6時半ごろスタート、非常に環境の悪いマンションの共有ネットにて、インストールが始まります。 再起動後ふと見ると、LEDのランプが付いていないので、心配になりましたが、動いてます。
再起動後のログインは設定が変更されていて、以下の様になります。
- host: moode.local
- user: pi
- pass: moodeaudio
何もなかった様に繋がります。裏ではインストール作業が行われています。 インストールの経過を見るために幾つかのコマンド(mosbrief, moslast, moslog)が用意されています。
pi@moode:~ $ mosbrief
// STEP 2 - Direct build so no need to expand Root partition
// STEP 3A - Install core packages
// STEP 3B - Install core packages
** Error: Install failed
** Error: image build exited
** Error: reboot to resume the build
// STEP 3B - Install core packages
// STEP 4 - Install enhanced networking
(エラーやステップ毎の経過が表示されます。)

pi@moode:~ $ moslast
** Thu Mar 7 06:26:45 +07 2019
////////////////////////////////////////////////////////////////
//
// STEP 2 - Direct build so no need to expand Root partition
//
////////////////////////////////////////////////////////////////

** Change password for user pi to moodeaudio
** Download latest moOde release
(ログの終わり部分が表示されます。)

pi@moode:~ $ moslog
configure: WARNING: random deadlocks (bluez-alsa PCM plugin is affected).
configure: WARNING: Either compile alsa-lib without this feature or export
configure: WARNING: LIBASOUND_THREAD_SAFE=0 while using bluealsa PCM.
make  all-recursive
make[1]: Entering directory '/home/pi/mosbuild/bluez-alsa-master/build'
make[2]: Nothing to be done for 'install-data-am'.
make[2]: Leaving directory '/home/pi/mosbuild/bluez-alsa-master/build'
make[1]: Leaving directory '/home/pi/mosbuild/bluez-alsa-master/build'
** Check for default bluealsa.service file
** Creating default bluealsa.service file
** Disable bluetooth services
Synchronizing state of bluetooth.service with SysV service script with /lib/systemd/systemd-sysv-install.
Executing: /lib/systemd/systemd-sysv-install disable bluetooth
Removed /etc/systemd/system/dbus-org.bluez.service.
(延々とログが書き出されていきます。)
途中エラーのため、手動でリブートする必要がありました。
おかしいと思ったらmosbrief or moslogで状況を確認してください。
aptでファイルをインストールしたり、スクリプトで、makeをしたりと、
割と大忙しなインストール作業のようです。
インストールが終了したら。最後のリブート(途中数回来起動します)。 10時半ごろ終了しました。以下、インストールの詳細。 幾つかエラーが出て、やり直したところもあります。
pi@moode:~ $ mosbrief
// STEP 2 - Direct build so no need to expand Root partition
// STEP 3A - Install core packages
// STEP 3B - Install core packages
** Error: Install failed
** Error: image build exited
** Error: reboot to resume the build
// STEP 3B - Install core packages
// STEP 4 - Install enhanced networking
** Compile bluez
** Compile bluez-alsa
// STEP 5 - Install Rotary encoder driver
** Compile WiringPi
** Compile rotary encoder driver
// STEP 6 - Compile and install MPD
** Error: install failed
** Error: image build exited
** Error: reboot to resume the build
// STEP 5 - Install Rotary encoder driver
** Compile WiringPi
** Compile rotary encoder driver
// STEP 6 - Compile and install MPD
// STEP 7 - Create moOde runtime environment
// STEP 8 - Install moOde sources and configs
// STEP 9 - Alsaequal
** STEP 10 - Squashfs option not selected
// STEP 11 - Optionally, install updated Linux Kernel
pi@moode:~ $
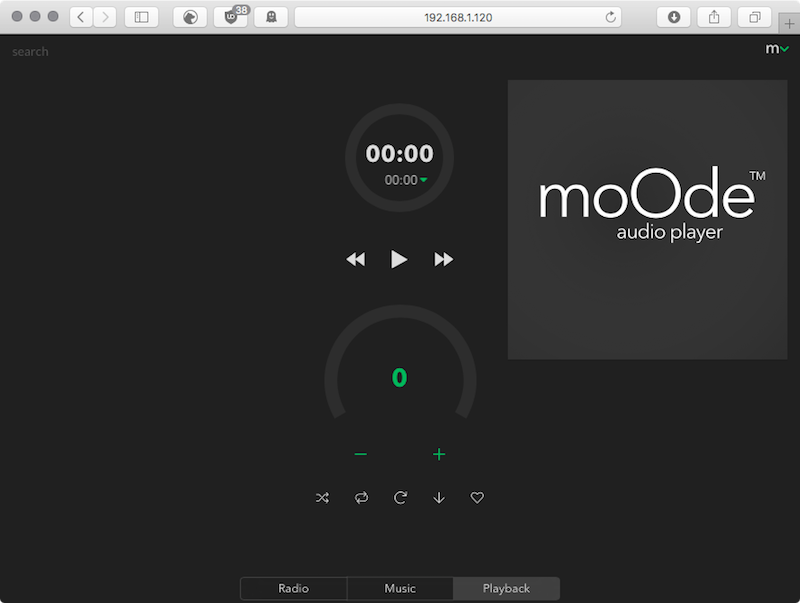
使っているブラウザーより、割り当てられたアドレスにアクセスします。 随分、シンプルな画面です。右上の控えめな**m⋎**が設定メニューです。 下部中央が画面の切り替えになっています。
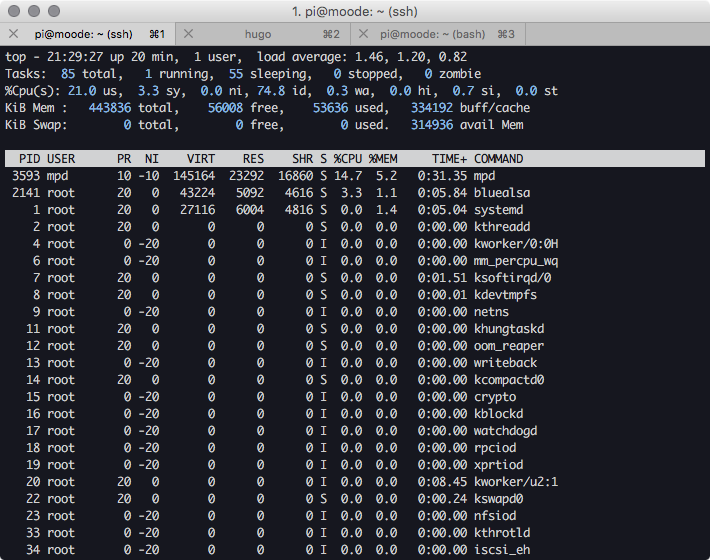
そして、rpi0w端末の仕事っぷりをチェック。プロセスもさほど取られていない様なので、ちょっと他のサービスも裏で走らせてしまおうかなとか思ってます。
そして、このrp0wにはオーディオジャックが付いていないことに気づく。。
BT接続
手元に香港小米家で買った、小米藍牙音頻接收器ことBT Audio Recieverを持っているのに気付き、設定を行いました。中国語、で何かしら喋ります。香港で買ったものだから、広東語だと思う。。。変更は不可の様です。
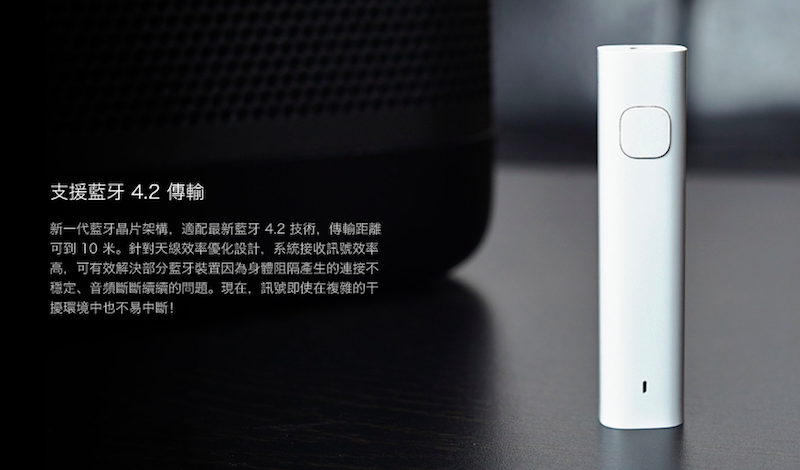
さて、何れにせよ、設定を行ってみました。右上のmより始めます。configurationをクリック。

そして、システムより(確か)、ブルートゥースの有効化をします。 そうすると(確か)、画面上にBlueZというアイコンが表示されると思います。
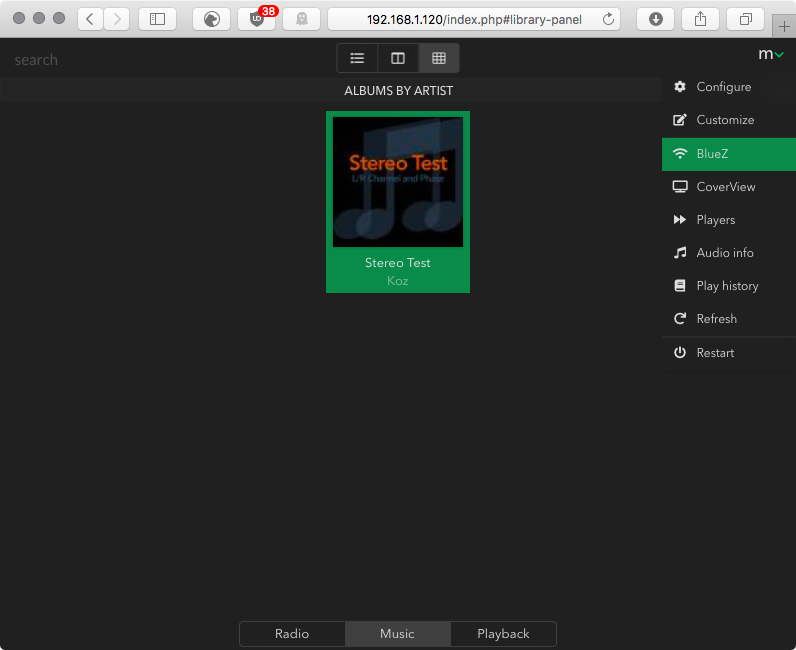
設定より、下のオーディオ・アウトプットをブルートゥース経由に変更します。 まずはスキャンをして、レシーバーを探します。そしてペアリングをして終了。
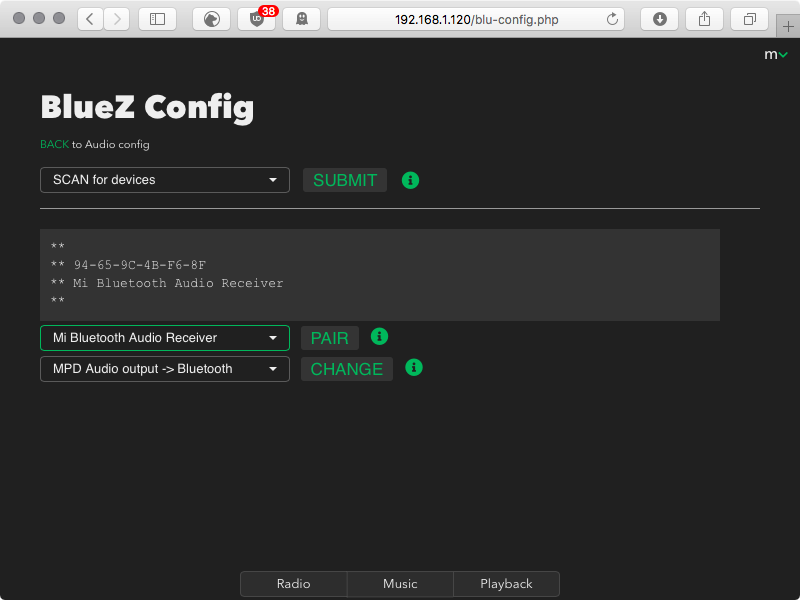
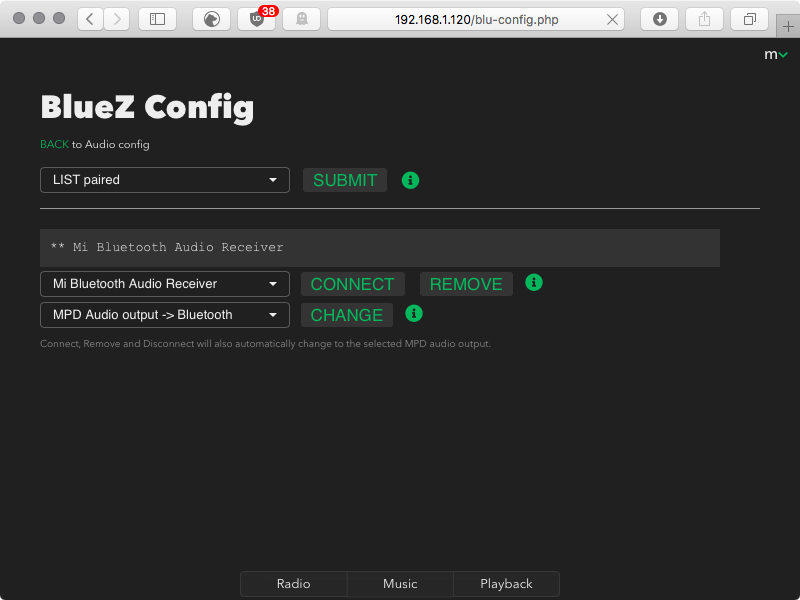
なんか中国語で喋ってる、、
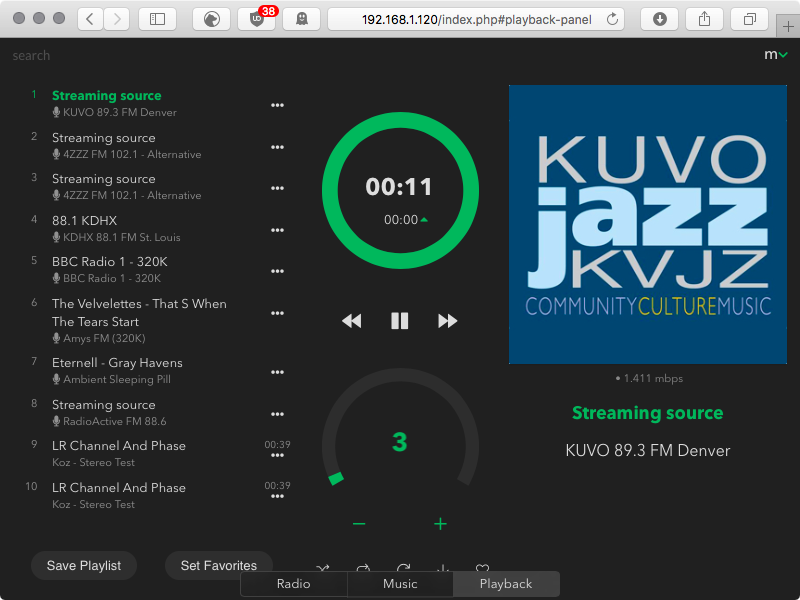
ラジオセクションから、Jazzチャンネルを選んでみるも音が聞こえず。 ボリューム設定が0になって様で、プチプチと音量を上げる。。
おっっ、聞こえた。
わっ、しかも期待したより音が良い!
ちょっと幸せかもしれん。。もう嬉しくて、目から鼻血が出そうです。
いやぁ、このラズベリーパイは本当ご機嫌だねぇ。。
来週にはRPiB3が届きます。こちらは、ノマドサーバーになる予定です。そして、ノマドルーターもシンガポールからタイに向けて発送中。
数日後の追記:
うーん残念なことが二つ。まずは、ラジオの登録数が少ないこと、登録はできる様だけれどもどうもうまくいかない。そして、もう一つはSCROBBLES。Last.fmに聴いた音楽のデーターを送りたいのだけど、設定はあるにもかかわらず、うまく送れない様、時差があるのか?。
で、試しに入れた、VolumioはSCROBBLESはすぐに更新される様だけど、こっちはBTでの接続がいかん。。こっちではこれが動いて、あっちではこれが動かない、、フリーウェア系のドツボに陥った、、、数年更新のない、Runeを試してみるか。。。
